Building a Nova Rear Wing – Part 1
Chris and I have been hard at it and have been making some progress on the ol’ gal over the last couple months. I haven’t had much time to post on the blog due to work, but thought I’d grab a few minutes and start posting this wing project – which took a lot longer than I expected.
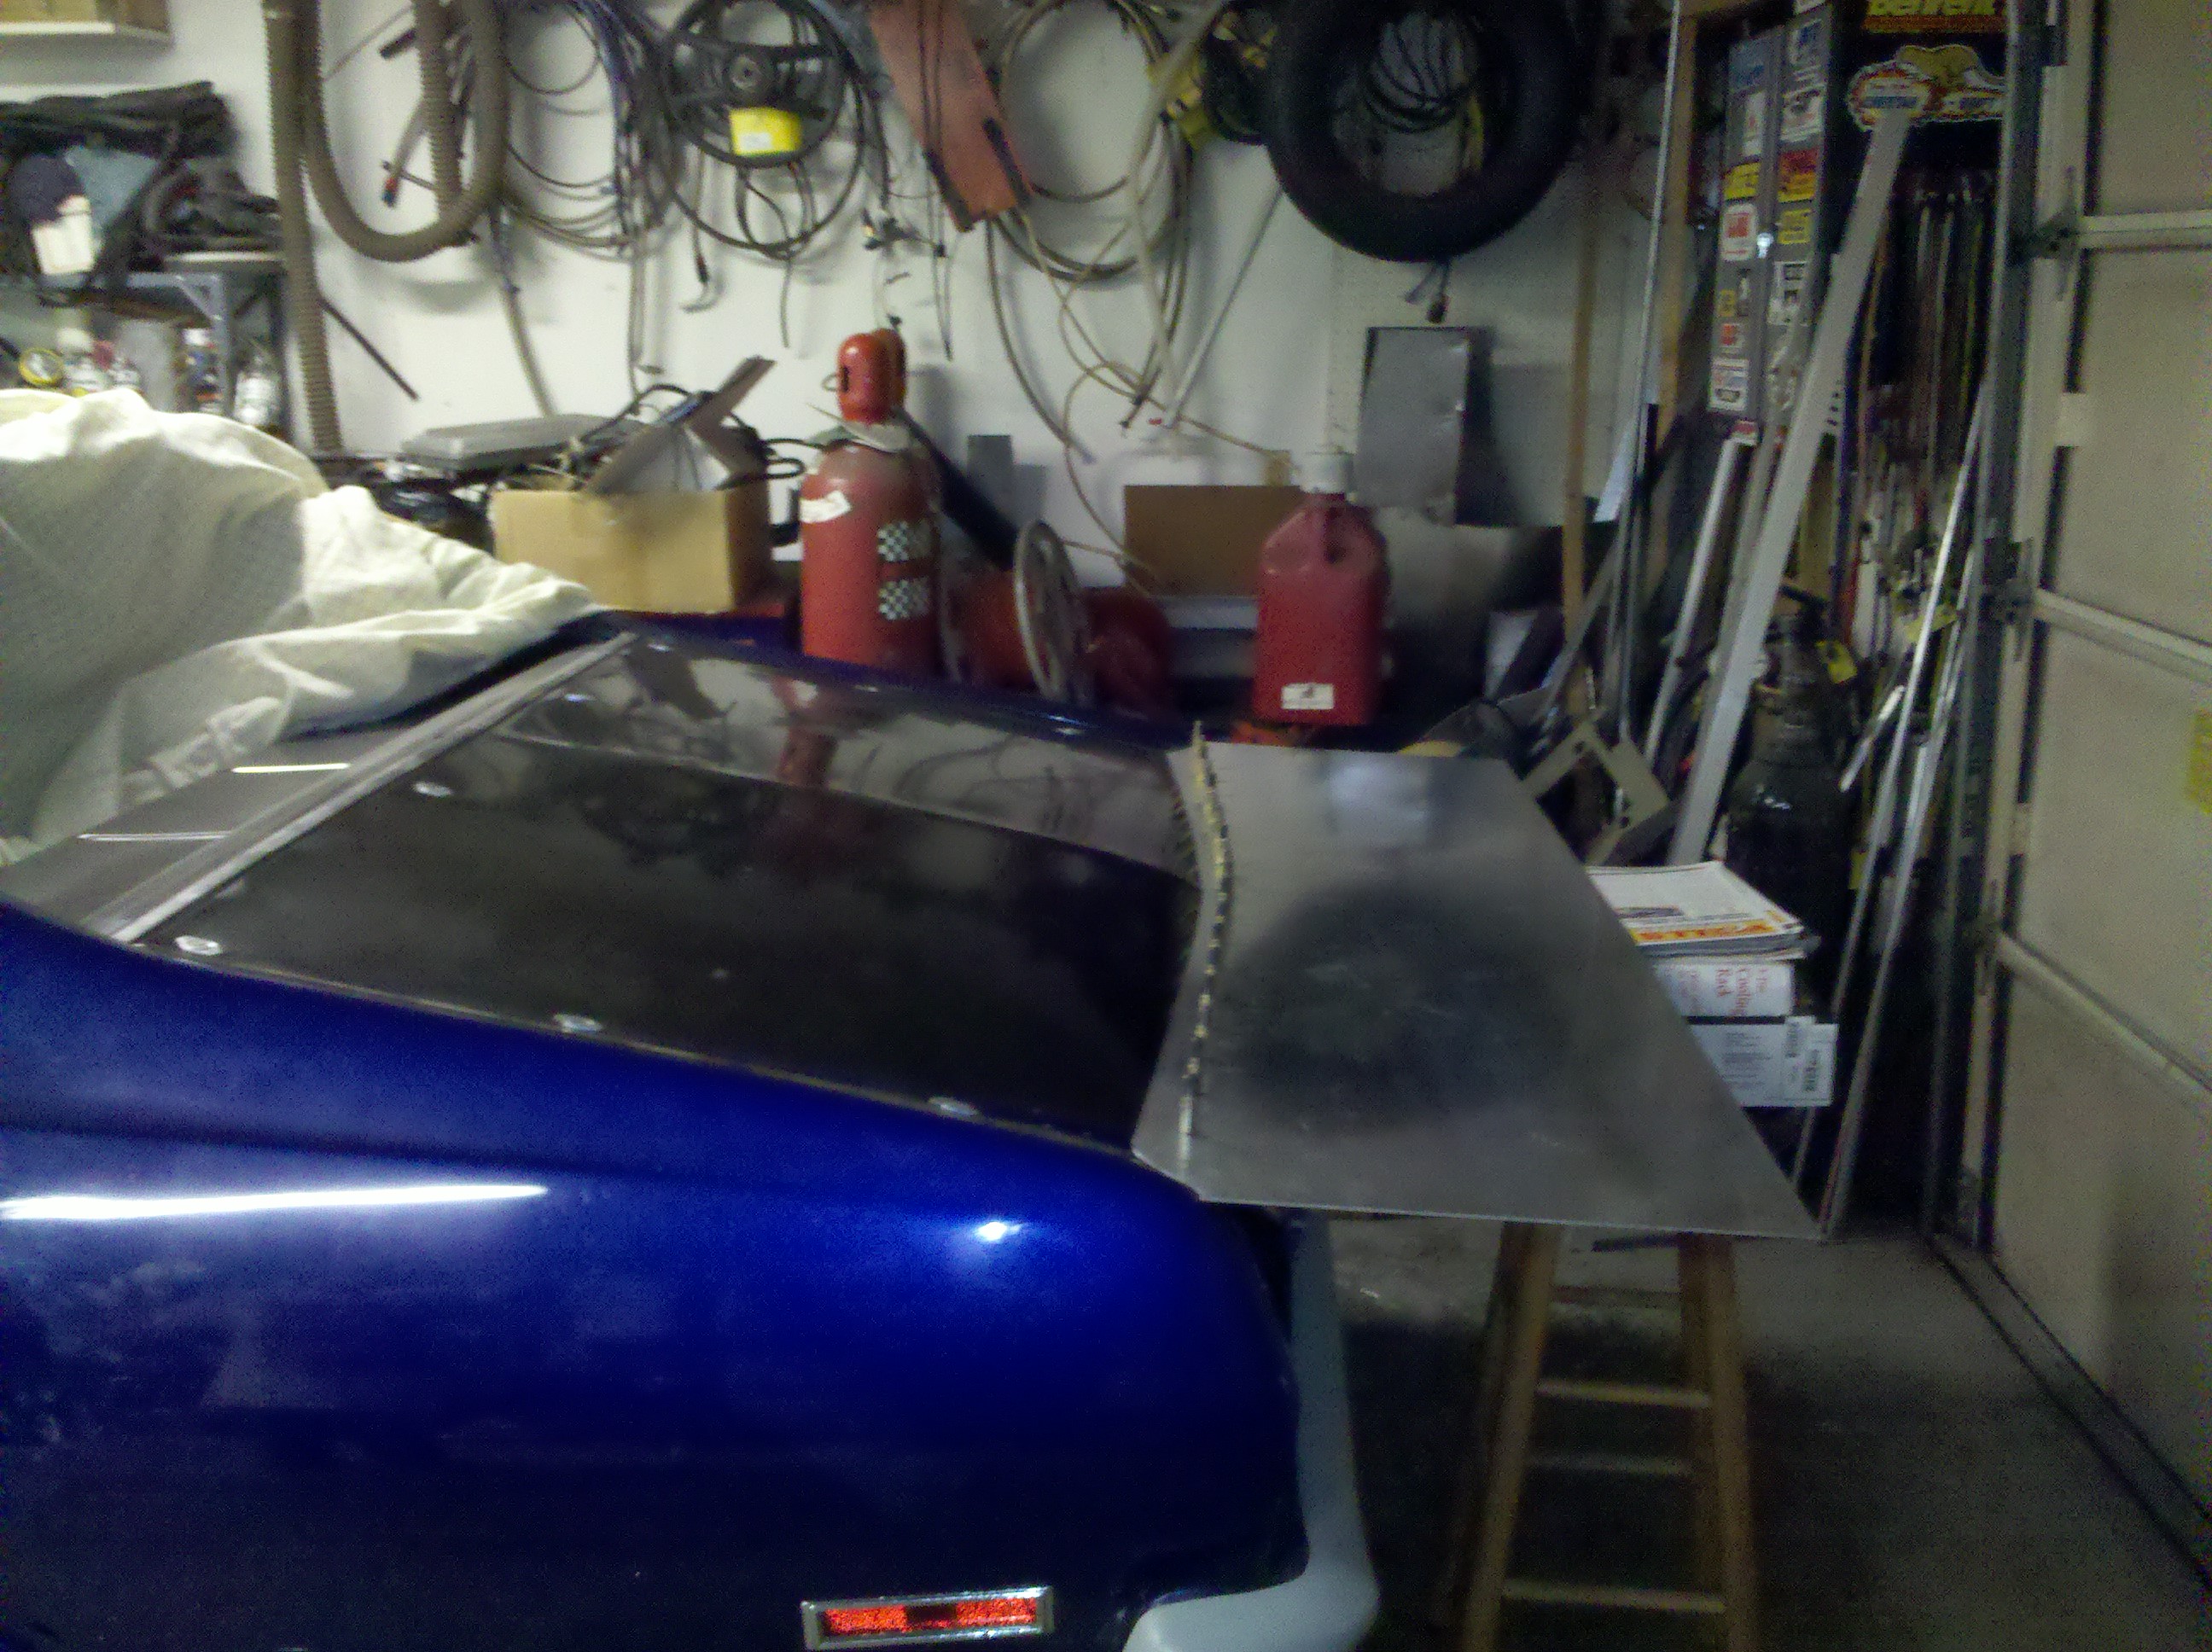
I started out by using a piece of masonite to make a template for the wing, then transferred the pattern over to aluminum. Learned a few things real quick, one of them is these cars are not the same side to side. For example my car has an aftermarket RR quarter on it, the LR is stock. Well, they look the same, but they aren’t. There are small differences that will bite you when making something like this. So my advise is not to take anything for granted, find the center line of the car and work outwards and it’ll save you some grief. Also, I used .090 thick aluminum for this project, I think I could have got by with .060″ thick and saved a little weight, the .090 was plenty stiff. At the widest part, the wing is 18″ deep and 60.25″ wide.
I’m attaching the wing to the fiberglass deck lid with an aluminum hinge that I bought from McMaster-Carr – Part No 1581A42 Alloy 5052, .060″ Thick, 2″ Open Width, 6′ Length. You’ll save about $20 getting it from them as compared to a chassis shop like Bickle for the same thing. I also used 8-32 Stainless Button Head Cap Screws and Nylock nuts I got off ebay – you can get them pretty cheap there as well.

Next I started making the brackets for the strut rods. Continuing on with the low buck method we’re going with here, I made my own out of mild steel. These things cost about $10 each, but you won’t find them with the exact right bend to put on the bumper, so to save a few bucks and have them fit good I made my own. I did learn that due to the way I did the wing fitting it to the profile of the body like that is you won’t be able to move it a lot up and down even with the hinge as the wing starts to hit the deck lid. This did work somewhat, I can move the wing up and down a few degrees which was what I was after, but don’t look to get much movement. We’ll be making adjustments to the wing using a wickerbill anyway, but the hinge does allow for a little movement.
 One interesting thing I learned is that the magnetic field from that magnet in the picture really messes up a MIG welder. Shortly after I took this photo, I tried tacking the bracket into place. Pftttt snap crackle pop. The welder through a fit – I tried it on a piece of scrap, worked fine, went back to tack the bracket, again it acted up like I had the gas off or something weird. Finally, I decided to take the magnet off, worked like a champ. I’ve never seen a magnet mess up a weld like that, but I guess it was due to the light weight steel? Weird – but learned something there. Eventually I got those bracket’s welded up, not perfect, but hey I’m not doing this for a living!

Next, I made the upper strut rod brackets out of aluminum angle purchased at a local lumbar yard. These I was a bit more happy with, and again saved a bit of money making them myself. These were pretty easy to make, but one thing I’ll share is that the hole where the heim end goes I made directly over the mounting plate hole. If I had to make these again, I’d move the hole up a bit to give some clearance between the screws as they intersect pretty close – they clear, but it’s tight. The aluminum heim ends I got from Rod End Supply in Kansas City, I think they were about $5.50 each or so.
The next step is to mount the brackets to the wing and the bumper, so stay tuned I’ll get that part wrote up here soon…

